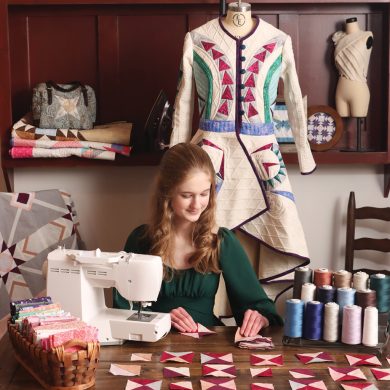
 Making
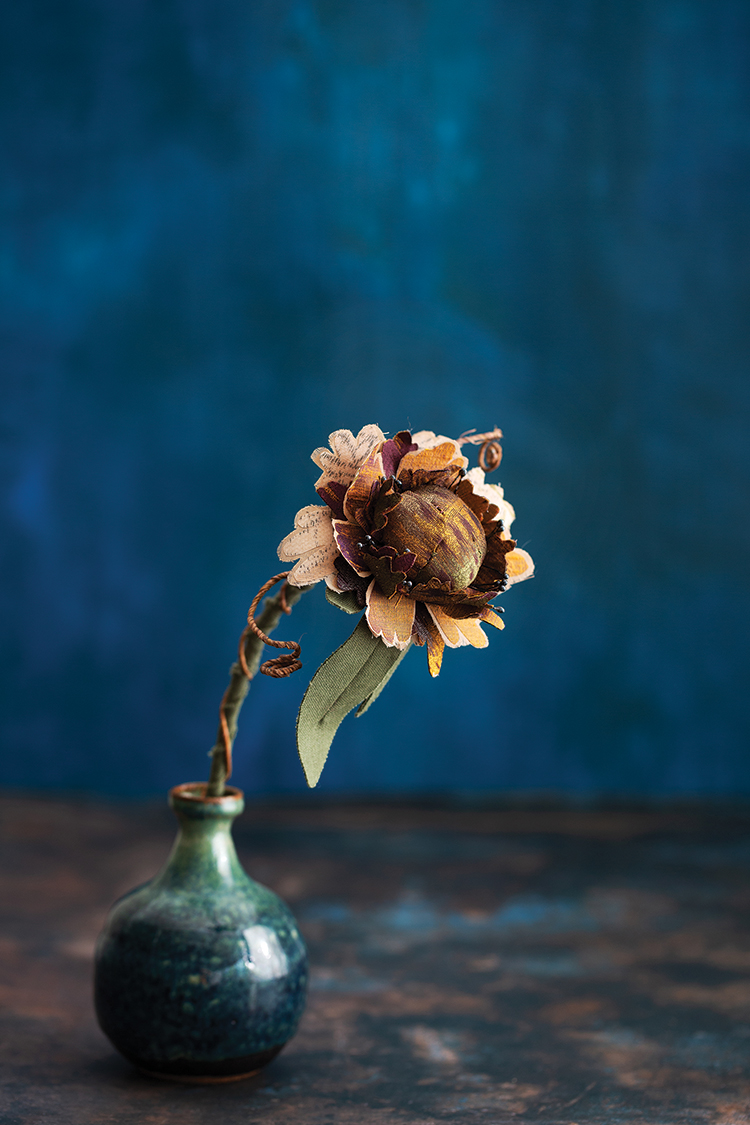
When I am creating pieces that are for a gift or for just the sake of seeing where the textiles and my mind take me, there are no limits. I usually have a basic idea of how I will start a flower but that can quickly change when I start to pull different textiles and discover how the fusible products I use change the texture, color, or hand of the fabric when heat is applied.
The individual techniques can be used on their own or collectively to make many different kinds of flowers.
It looks like you’re out of free articles.
Become a Women Create member to read this full article.
Already a member? Sign in 1
Monthly Membership
$9.99/month (billed monthly)
- Full access to the site
- Digital Subscription of Where Women Create
- Digital Subscription of What Women Create
- Premium newsletter
- Partner Discounts
- E-Guides
- 10% Discount on All Women Create shop purchases
Annual Memberships
Starting at $11.99/month (billed annually)
- 1-year print and digital subscriptions of WHAT Women Create magazine, WHERE Women Create magazine, or both
- 1-year digital membership to Women Create including:
- Full access to the site
- Premium newsletter
- Partner Discounts
- E-Guides
- 10% Discount on All Women Create shop purchases