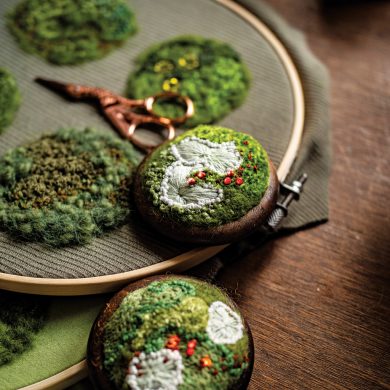
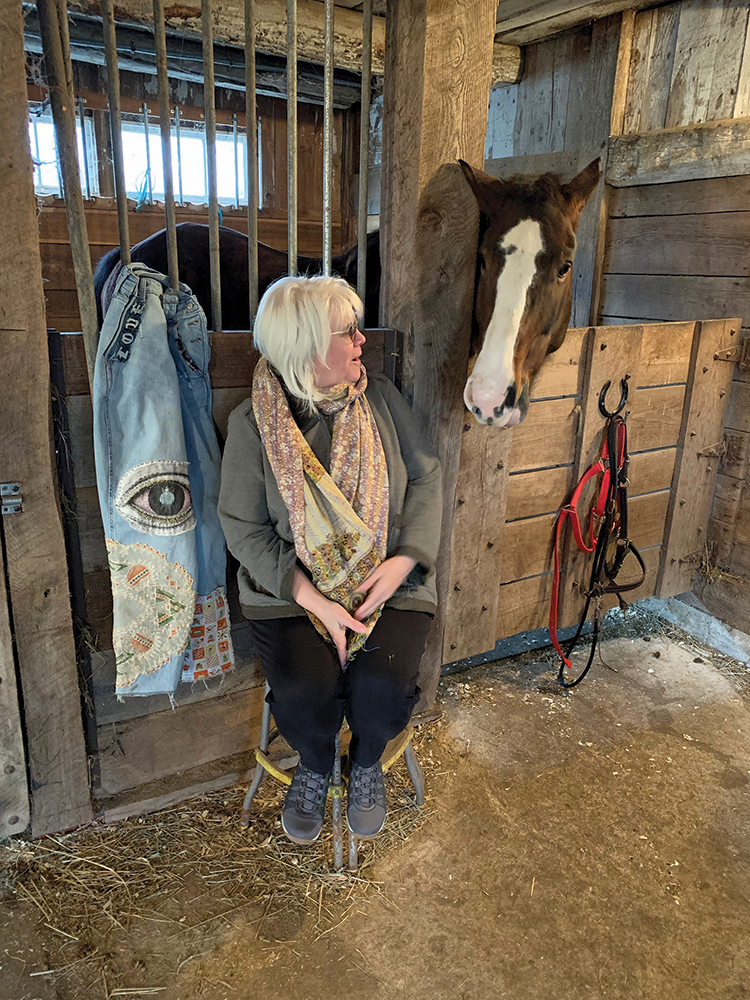
Sometimes things do come full circle, like patchwork jeans! I made them in high school, and it was also my side hustle! Patching and embroidering jeans, shirts, and jackets for myself and for other students. Seeing them on the runway, across the pages of high fashion magazines and on social media is really exciting and a bit nostalgic. I love that anyone can make these with a few helpful hints, scraps of fabric, and some fun vintage textiles. Oh, and a seam ripper!
It looks like you’re out of free articles.
Become a Women Create member to read this full article.
Already a member? Sign in 1
Monthly Membership
$9.99/month (billed monthly)
- Full access to the site
- Digital Subscription of Where Women Create
- Digital Subscription of What Women Create
- Premium newsletter
- Partner Discounts
- E-Guides
- 10% Discount on All Women Create shop purchases
Annual Memberships
Starting at $11.99/month (billed annually)
- 1-year print and digital subscriptions of WHAT Women Create magazine, WHERE Women Create magazine, or both
- 1-year digital membership to Women Create including:
- Full access to the site
- Premium newsletter
- Partner Discounts
- E-Guides
- 10% Discount on All Women Create shop purchases